
How To Get Safety & Savings…
Photo © by Craig Nicholson
Related: Reduce Snowmobiling Risks
Not so long ago, snowmobilers hardly ever spent time sharpening snowmobile carbides. Now, it seems like a no brainer.
Why Carbides Are Important
Most trail riders have experienced this scary situation. It happens when your sled unexpectedly doesn’t go where you’re trying to steer. Worse case, you simply can’t count on predictable behavior from your snow machine anymore. To troubleshoot this dangerous concern, one place to start is under your skis.
Why? Because the more you go trail riding, the more your sled suffers from wear and tear. Frequently, the most damage happens to the carbide runners on your skis. They are the first part of your snowmobile to come into contact with any surface. As such, your ski runners take continual abuse from ground, gravel rocks and pavement. And with increased road-running due to trail closures in many areas, your carbide edges suffer more than ever.
Often, this abrasion occurs almost imperceptibly, while the operator increasingly struggles with progressively less effective front-end traction. This deteriorating grip is a significant factor in handling, control and cornering problems on the trails. By interfering with your ability to stick to the right side, it can also impact overall trail safety for everyone.
Unfortunately, many trail riders tend to overlook dull, and therefore, deficient carbides. Some riders simply don’t know the difference sharpening snowmobile carbides can really make. Others can’t be bothered changing them. And some don’t want to spend the money on new ones.
How To Help Preserve Your Carbides
Here are some simple measures to help prevent unnecessary carbide wear.
One, wherever possible avoid or minimize riding on bare asphalt or gravel.
Two, consider installing Rollerskis for crossing bare surfaces.
Three, install ski guides in your snowmobile trailer or truck bed.
Four, try to load and unload your sled from a trailer on snow.
Five, when parking your sled inside a garage, use ski dollies, ski boots or a floor mat protector.
About BiteHarder
But regardless of how careful you are, your carbides will undoubtedly dull over time. Fortunately, thanks to a company aptly named BiteHarder, restoring a like-new edge to your carbides is simple. Bite Harder makes a do-it-yourself tool for sharpening snowmobile carbides. It’s designed for convenient use with your runners still attached to the skis. This tool comes in both Standard and Professional Series. They are available to purchase individually or together in a money-saving combo pack.
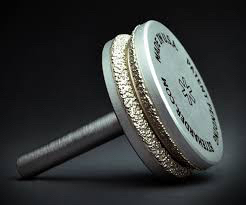 BiteHarder Carbide Sharpening Tool Standard Series
The Standard version is intended to maintain a sharp edge on your carbides. But be aware that trying to re-sharpen an excessively worn set of runners will prematurely wear this tool. This version is made for portability and use with cordless drills with maximum speed of 1,500 to 2,000 RPMs.
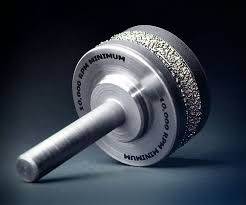 BiteHarder Carbide Sharpening Tool Professional Series
The Professional version is made to restore a sharp edge to your carbides, even if they are excessively worn. Note that this version is made for use with a pneumatic or electric die grinder with maximum speed of 10,000 RPMs. Using it at lowers speeds may shorten its usable life. The Professional is engineered for constant use, such as for avid riders, dealer service or families with numerous snow machines.
BiteHarder Benefits
By sharpening snowmobile carbides, BiteHarder brings three major benefits to snowmobile trail riders. One is increased safety from maintaining sharp edges. Two is saving money by extending carbide life. And three is better trails. Yes, better trails. Through its Better Traction-Better Trails program, this company contributes 10% of sales to support trail maintenance in participating states and provinces.
Testing BiteHarder Carbide Sharpening Tool
But the proof, as they say, is in the pudding. So does a BiteHarder Carbide Sharpening Tool actually work?
I speak from first-hand experience. There’s no doubt that sharpening snowmobile carbides with a Standard Series BiteHarder renews a carbide’s grip on the trail. Knowing this gives me both more confidence and peace of mind, plus makes me a better rider.
I’ve found that using BiteHarder between tours is sufficient for my riding preference and style. And because the BiteHarder Carbide Sharpening Tool Standard Series is portable, it’s even possible to carry it along for those so inclined. To facilitate this, BiteHarder offers an option for running it off your sled battery with its 12-Volt Carbide Grinder.
How To Use BiteHarder Carbide Sharpening Tool
Which begs the question: how difficult is BiteHarder to use for sharpening snowmobile carbides? So I asked former racer, now avid rider and home mechanic, Craig Irwin, for assistance. He put a Standard Series Bite Harder through its paces in his workshop and contributed to this article.
There are two ways to sharpen your carbides with this product. With your runners on or off your skis. Obviously, leaving your runners on the skis is much easy & quicker for most riders. Also, it’s the way BiteHarder intended its usage.
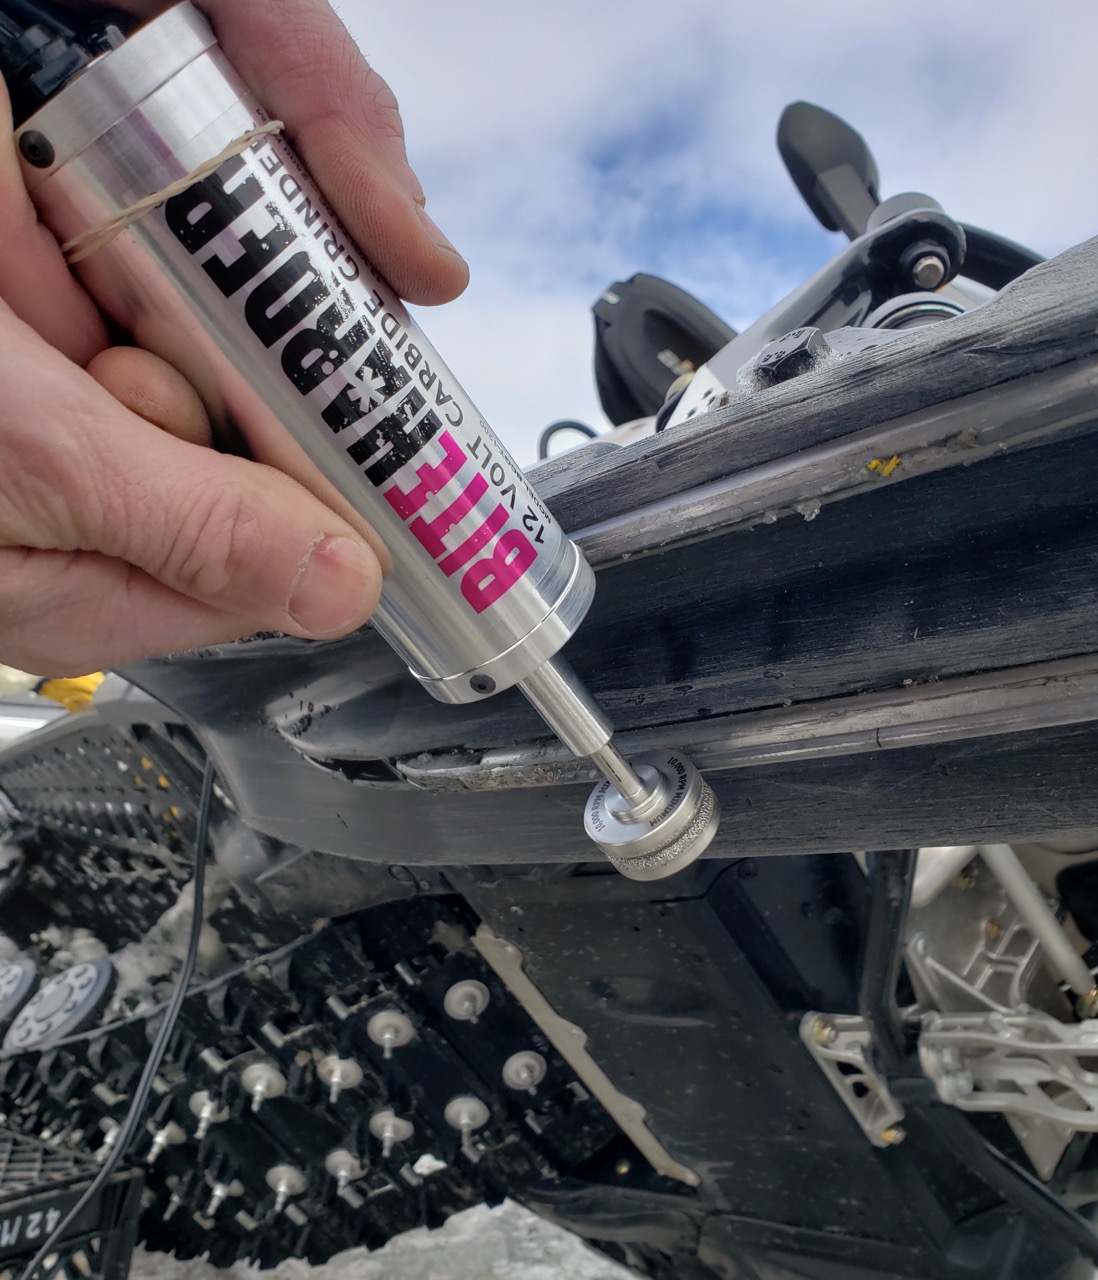
BiteHarder 12-Volt Carbide Grinder – photo by Bailey Irwin
But whichever way you choose, you will also need the following: a cordless power drill (or the 12-Volt Grinder) and protective gear such as dust mask, safety glasses, gloves & ear plugs. If you decide to remove the runners, you will also need a socket & ratchet, and a vice.
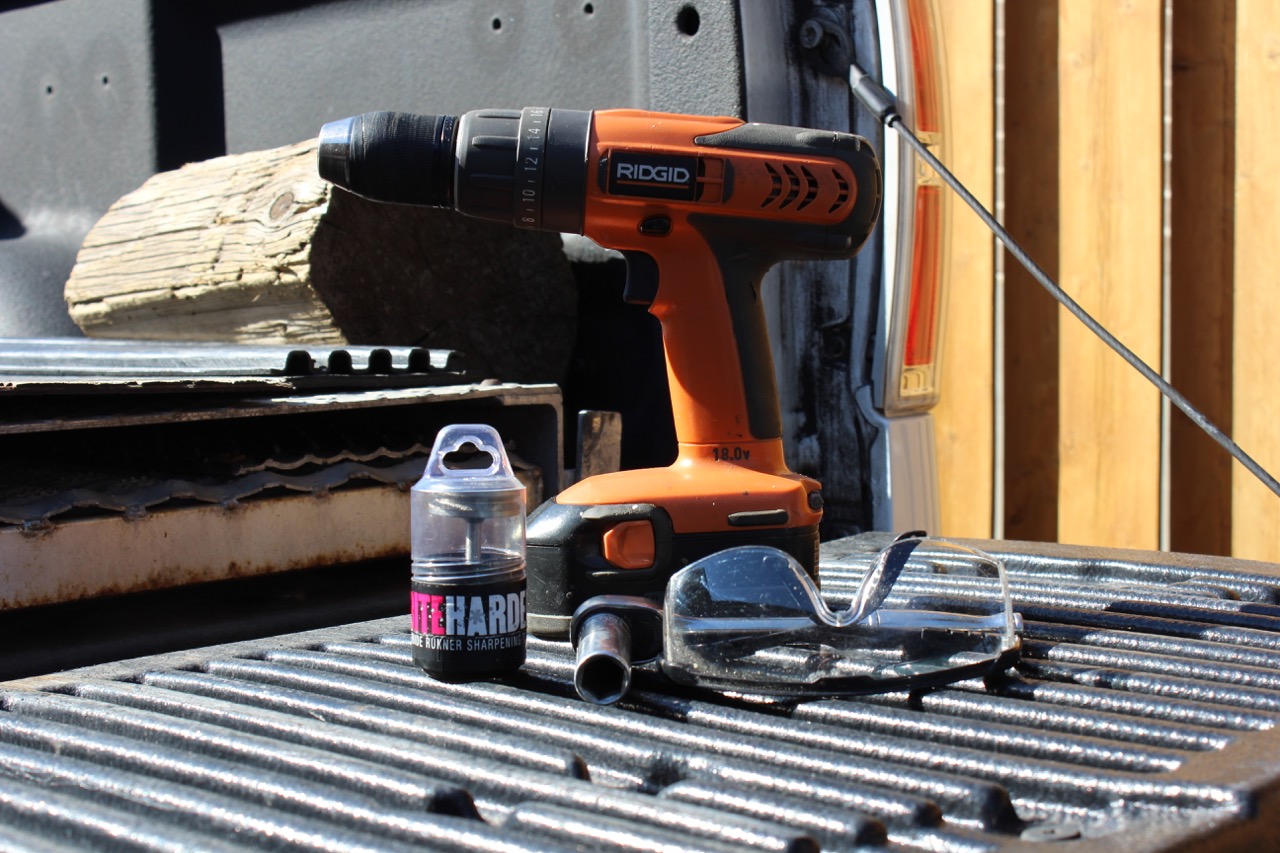
Some of the tools needed for do-it-yourself sharpening snowmobile carbides – photo by Bailey Irwin
Leaving Runners On Skis
For this preferred method for sharpening snowmobile carbides. That’s why BiteHarder also makes a Side Support Pole to prop your sled on its side for the proper angle to access each carbide. Otherwise, you’ll need a stable, stationary object to lean the sled against.
Either way, be sure to hold the ski steady with one hand. Or have two people for the job, one to balance the sled and hold the ski firmly in place. The other to do the actual sharpening.
Step One: Lift Sled
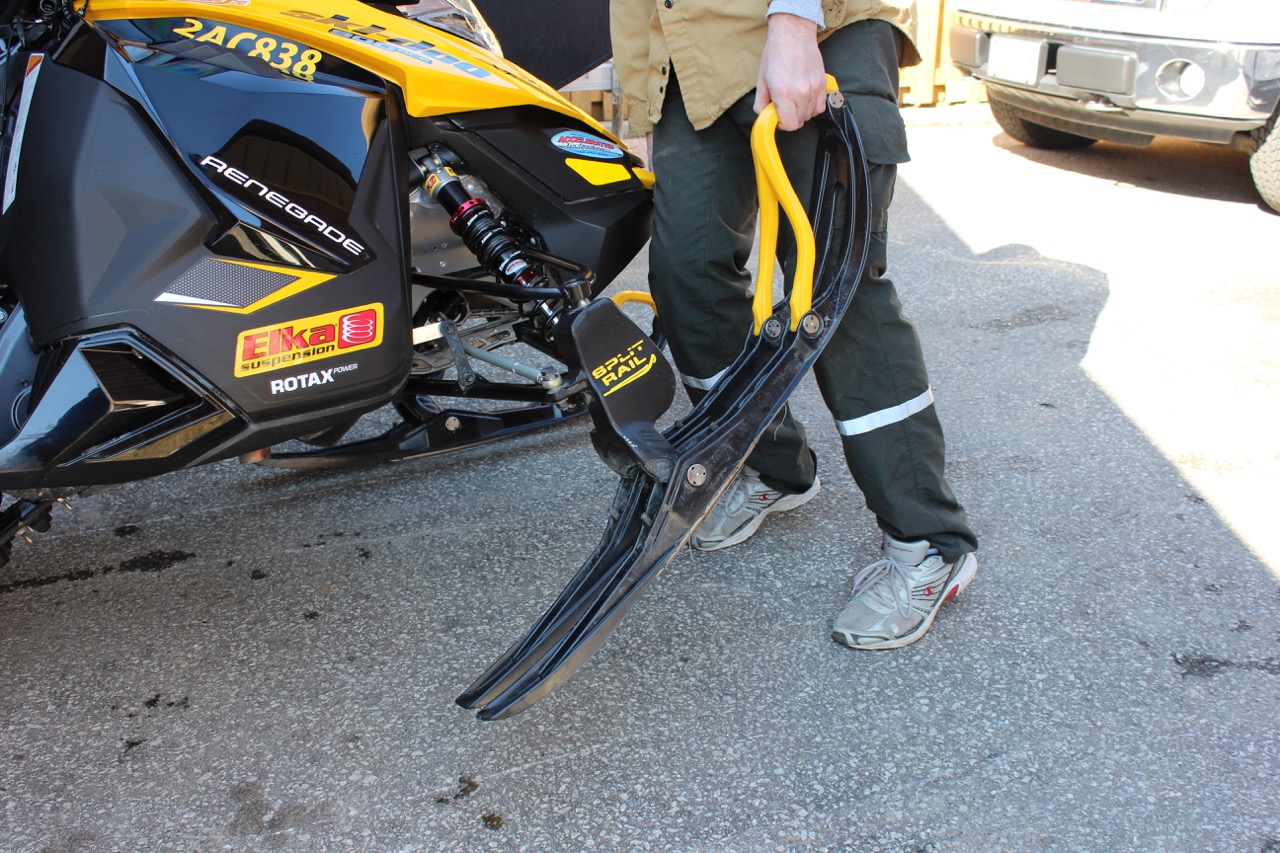
Lift a sled up onto its side by pulling on the ski handle – photo by Bailey Irwin
Of course, you need to raise each ski off the ground to access its carbide. The easiest way to lift the sled on its side is to lever it up from the front of the ski, pulling on the ski handle. Alternatively, two people can tilt it up on its side.
Step Two: Sharpening Snowmobile Carbides
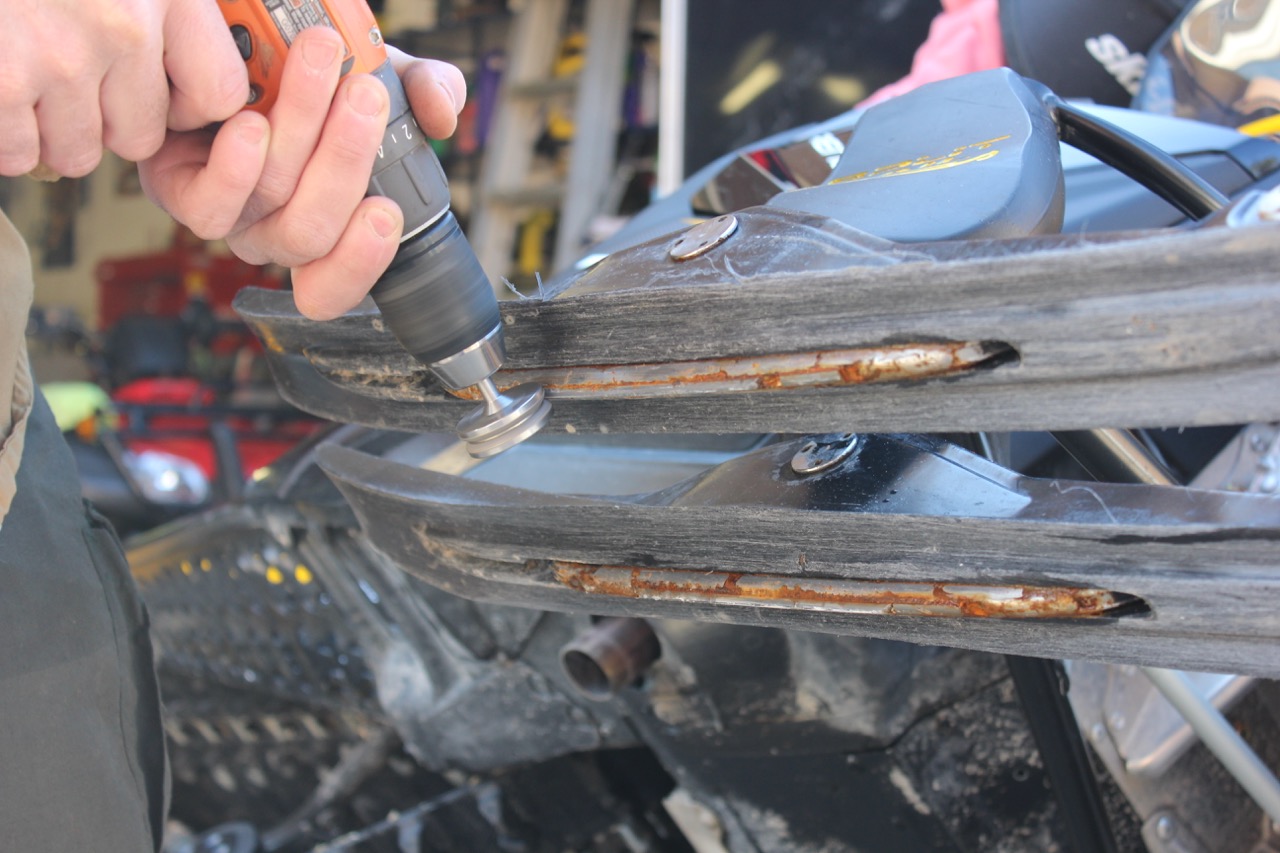
Sharpening snowmobile carbides on Split Rail Skis – photo by Bailey Irwin
Attach the Bite Harder Standard Series tool to drill. Hold the ski firmly so it won’t move. With your cordless set at highest speed (1,500 to 2,000 RPMs max), always hold it perpendicular to the carbide. Then, simply run the tool up and down the entire length of the carbide using light pressure, letting the diamonds do their cutting work. Use a continuous and uniform motion for approximately 20 seconds or until desired sharpness is obtained. Repeat for the other ski.
Removing Carbides From Skis
Step One: Remove
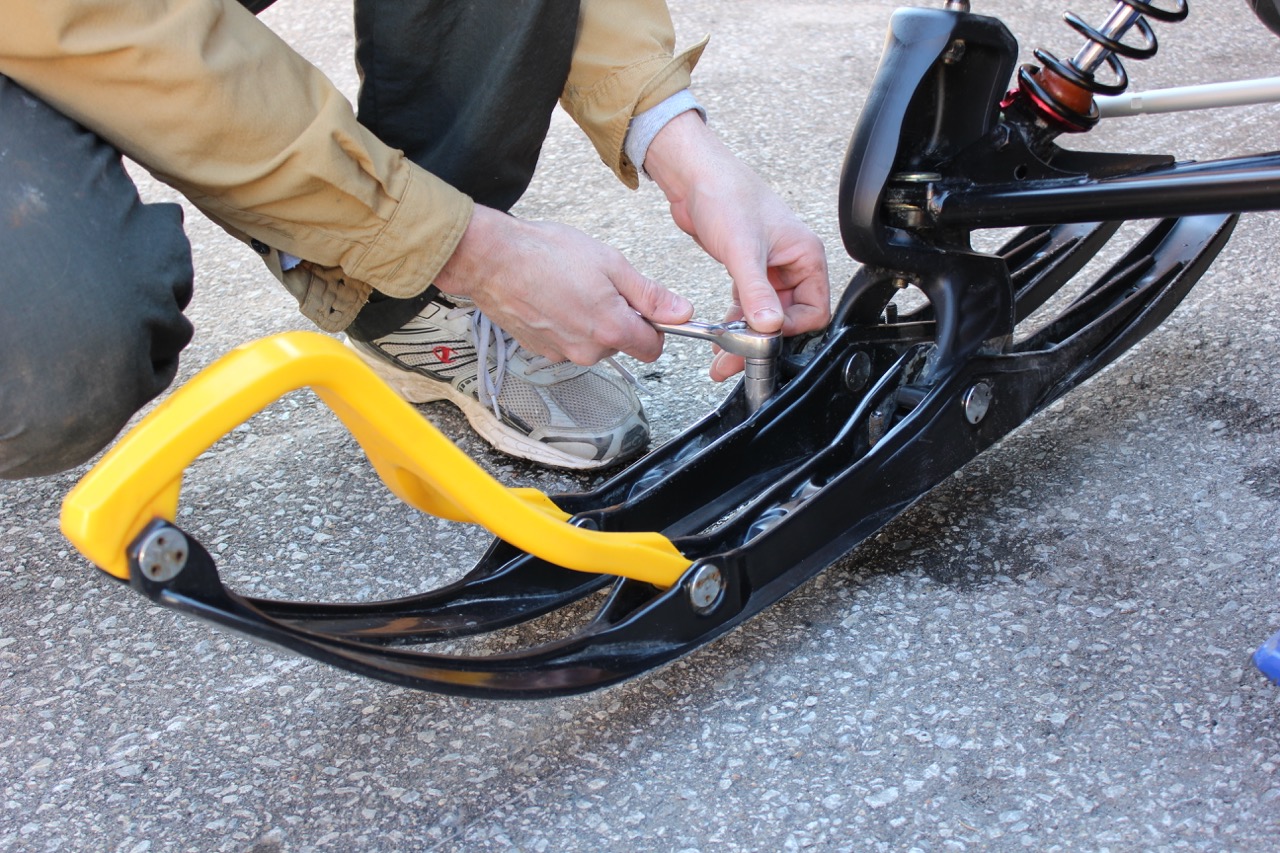
Using a socket & ratchet to remove carbides for sharpening – photo by Bailey Irwin
Using a socket and ratchet, remove carbides.
Step Two: Sharpening Snowmobile Carbides
Clamp the carbide in a vice, and follow same sharpening procedure as above. Repeat for the other ski.
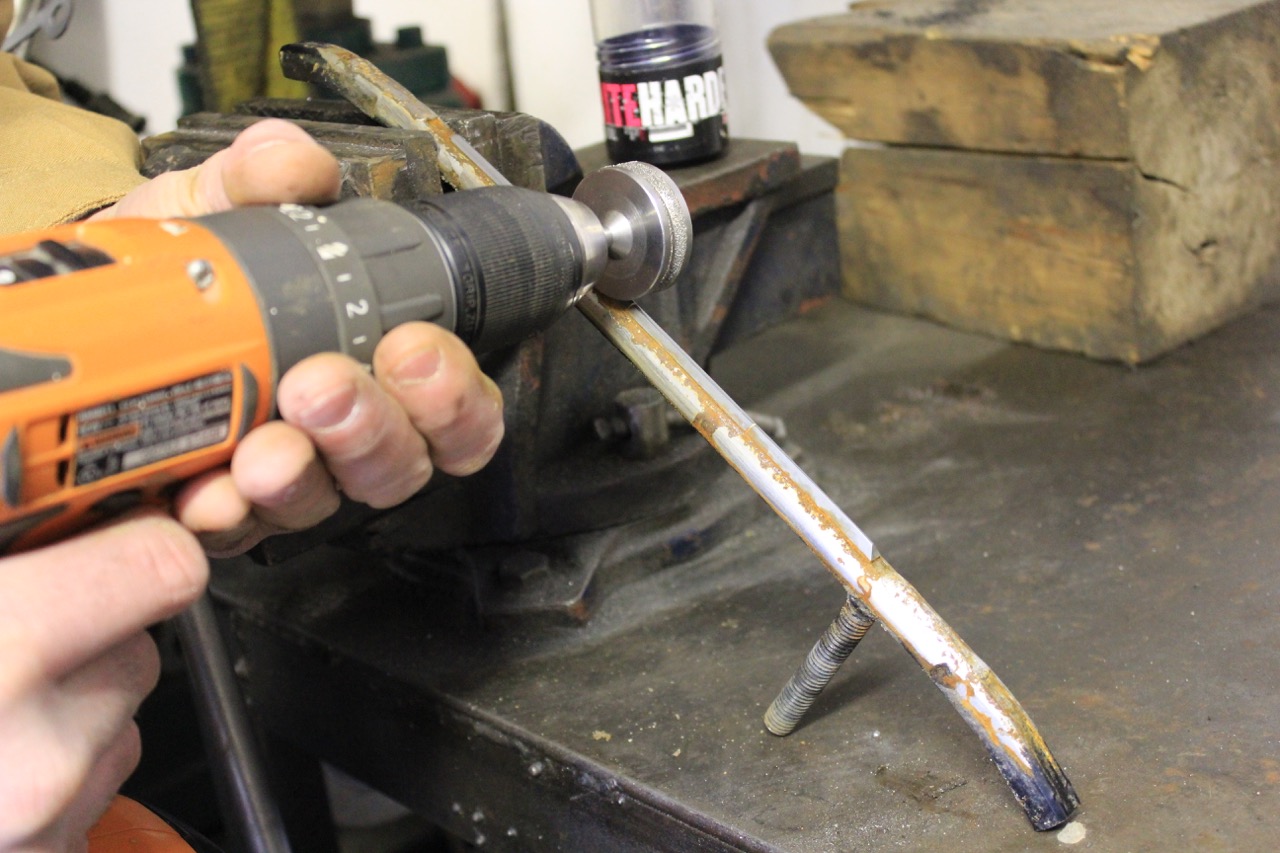
Sharpening snowmobile carbides in a vice – photo by Bailey Irwin
Sharpening Snowmobile Carbides Tips
-
- Don’t let your carbides become too worn down; sharpening them more frequently is preferable.
- Putting too much pressure on this BiteHarder Carbide Sharpening Tool while running it along the carbide runner can damage the tool.
- There is a limit to how many sharpenings you can do before there isn’t much actual carbide left on the runner, so double check each time before starting to see if new runners are required.
My Last Word
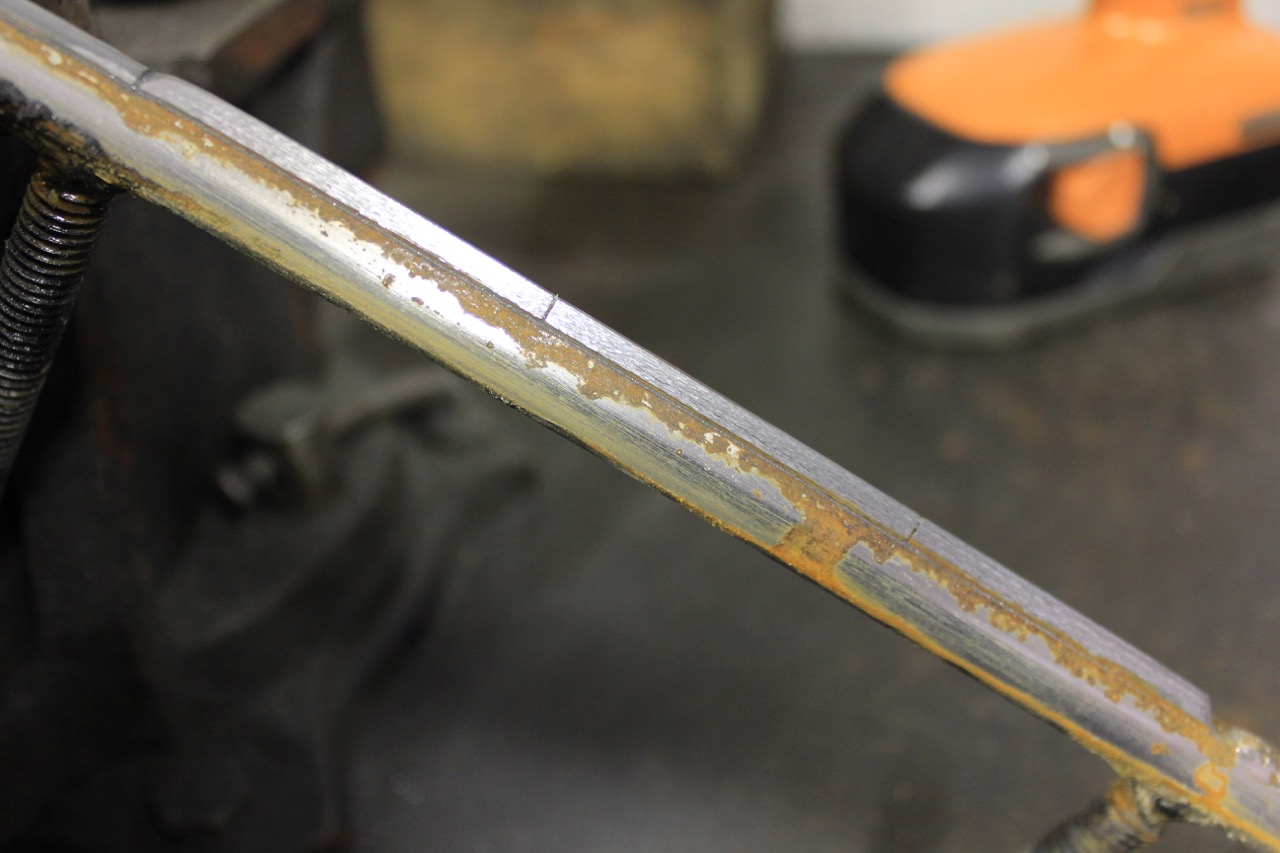
Sharpened carbides looks good as new – photo by Bailey Irwin
The BiteHarder Carbide Sharpening Tool Standard Series is simple and easy to use. It lives up to its promise of sharpening snowmobile carbides. After using Bite Harder, the sled’s steering became almost like new and certainly much better than beforehand. So regular use of this BiteHarder tool will maintain edges, plus extend the life of each set of carbides. This can yield significant savings, especially if you do a lot of riding. BiteHarder is a cost-effective tool that’s worth the investment for do-it-yourselfers and riding buddies.
In closing, I should also note that BiteHarder also makes a stud sharpening tool. It’s also available in a combo pack with the carbide sharpening tool. Although I haven’t tested it to date, I expect it works just as well as their carbide sharpening tool. But that’s a subject for another article! Meanwhile, visit my list of game changer snowmobile products!
The tips and advice in this blog are the opinions of the author, may not work in every situation and are intended only for the convenience and interest of the reader, who has the personal responsibility to confirm the validity, accuracy and relevancy of this information prior to putting it to their own use.